Healthy Teeth

The global teeth whitening market is expected to reach 9.6 billion by the year 2027.

Millions of people around the world are looking to reduce stains on teeth, and improve the appearance of their smile. But with so many products and devices on the market, it can be difficult to tell what is effective.

For any whitening or stain-removing method, the best bet is to first consult your dentist. They can weigh in on the most effective means of teeth-whitening, and advise you of products that might actually do more harm than good. 

But in addition to these products, there are simple methods you can implement into your daily routine that will help remove tough stains.

Keep reading for six easy steps to help reduce the appearance of stains on teeth.

#1. Improve Brushing Habits

One of the most simple yet effective measures you can’t take to remove stains on teeth is to improve your everyday brushing habits.

Important factors to consider when looking to remove stains on teeth include:

  • Using a toothbrush with soft yet sturdy bristles, replaced every three months
  • Brushing for two full minutes every time
  • Avoiding brushing too “hard” or in an improper pattern
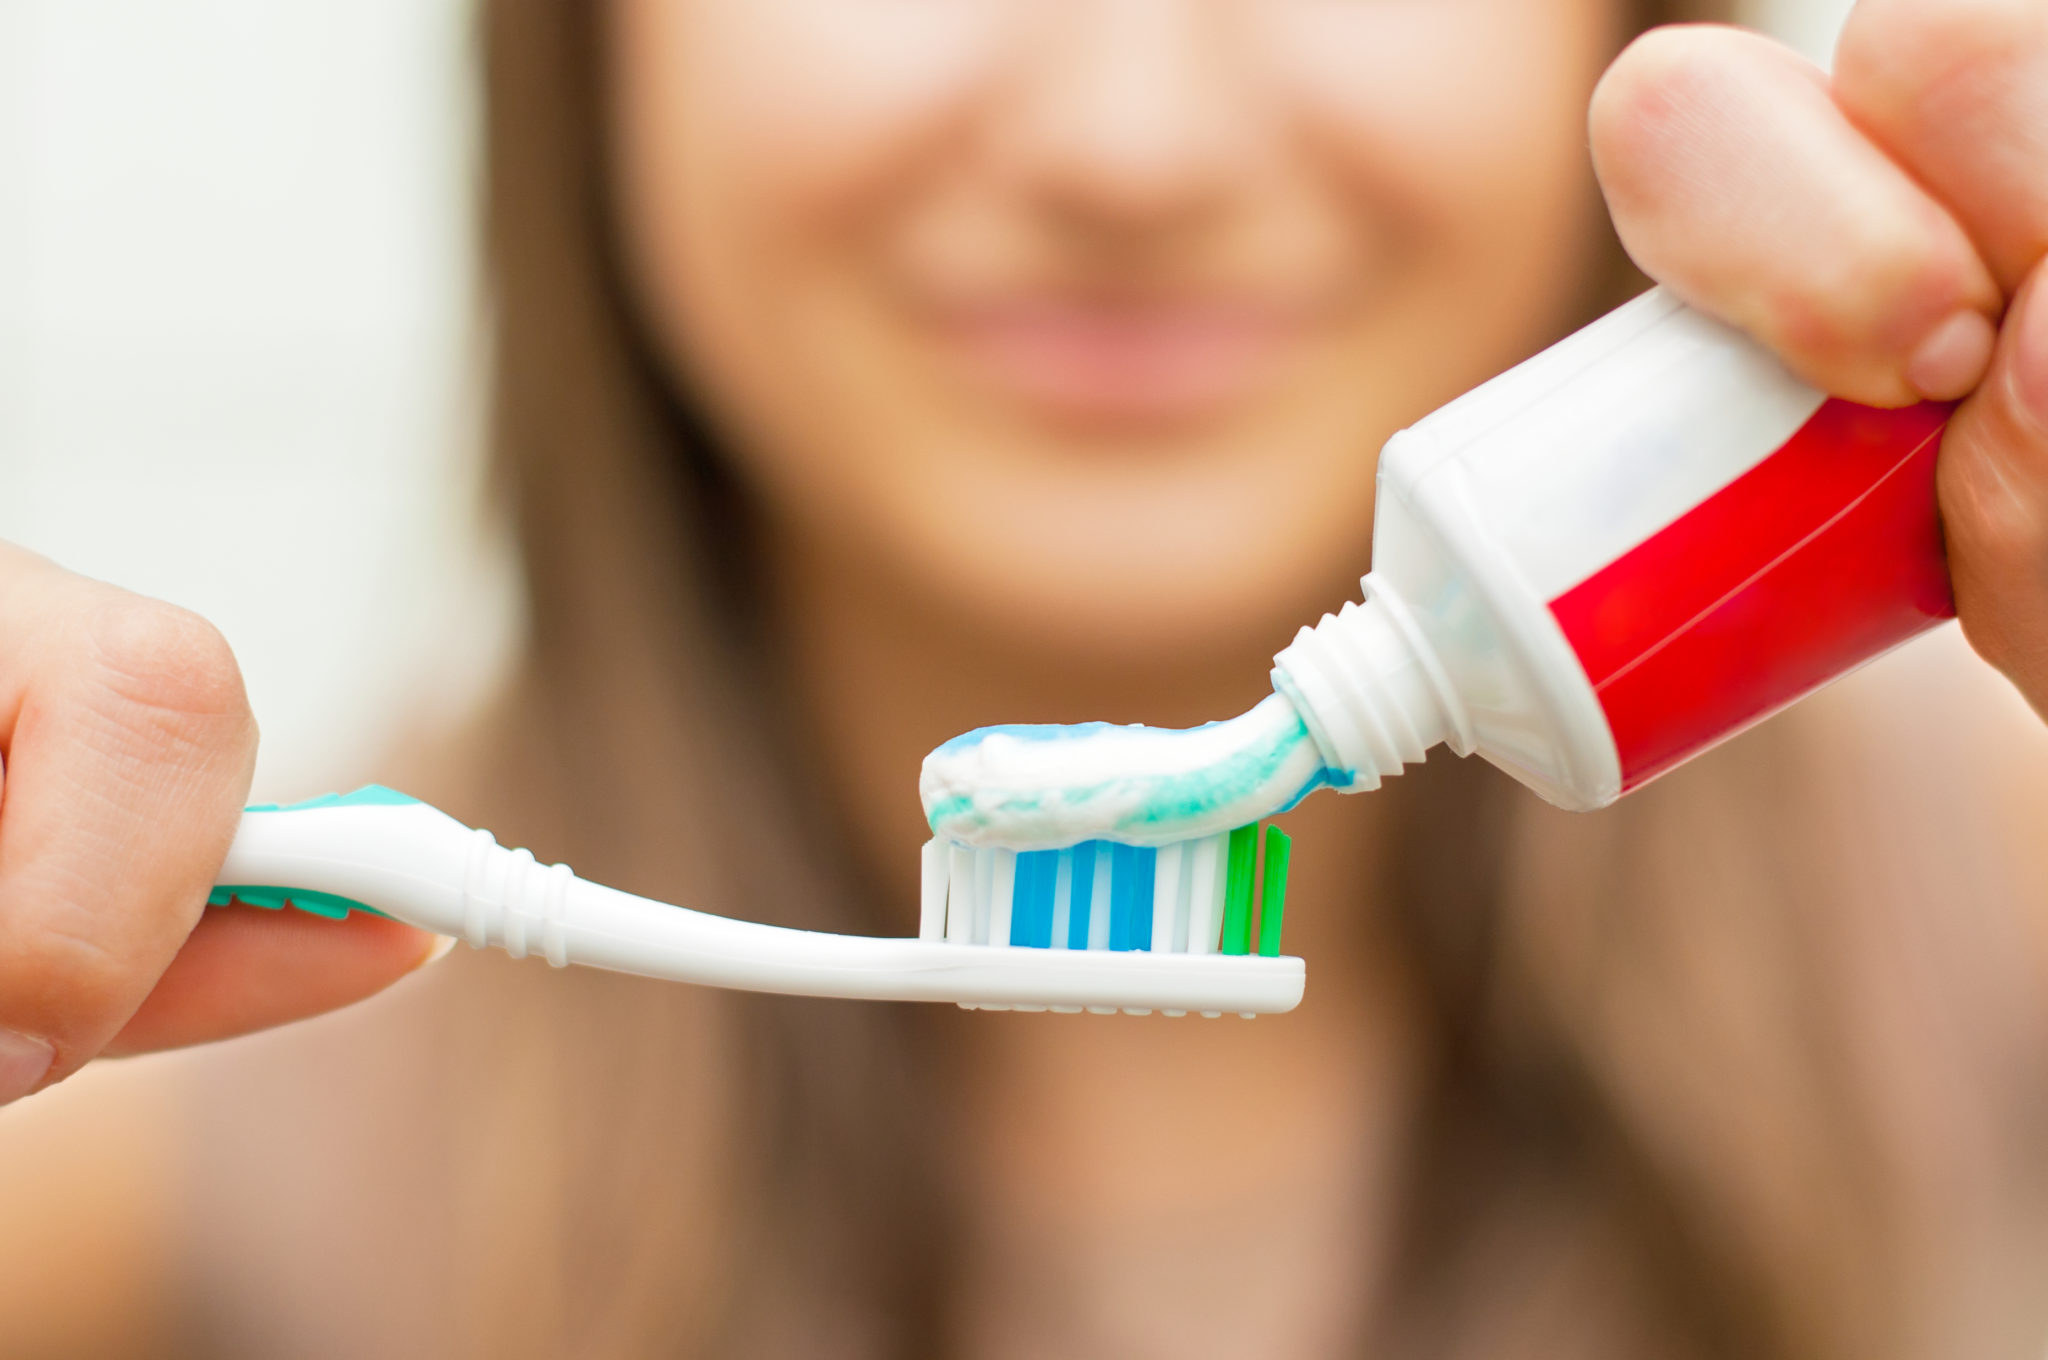
  • Using a whitening toothpaste approved by the American Dental Association
  • Cleaning your entire mouth (tongue, cheeks, etc.)
  • Waiting at least one hour after a meal to brush
  • Flossing after brushing
  • Finishing with mouthwash

This should be a multi-step process, repeated at least twice a day.

#2. Cut Down on Staining Foods

There are various food and drinks we enjoy in our everyday life that can actually cause unsightly stains on teeth.

Sauces that are deeply-colored (soy, tomato, curry) can cause brown stains on teeth. Try incorporating more light-colored sauces to avoid these stains.

The same idea comes from fruits and berries that are dark in color—like blackberries, cherries, and pomegranates. As such, paler fruits are less likely to cause stains on teeth.

Beverages can be harmful to teeth, as well. One example is coffee and tea. Frequent drinkers may experience black stains on teeth. While it may be hard to cut the caffeine cravings, your teeth will thank you.

Another beverage that can stain teeth is wine. With its acidic nature and dark, rich color, it can also discolor teeth.

Surprisingly, even white wine can stain as well. Though it does not have the dark pigment to it that red wine does, it can still add off white stains on teeth.

This does not mean you have to remove the food and drinks you love completely from your diet.

Instead, try moderating consumption to avoid building up stains on teeth. When you do consume beverages likely to stain, try using a straw and swallowing quickly to keep the liquid away from teeth.

#3. Avoid Nicotine and Tobacco Products

While there are other health benefits to avoiding these products, preventing smoking stains on teeth is a major factor.

Particles in these products stick to tiny pores in the enamel of your teeth. With repeated use, these particles build up until they become stains on teeth.

So the more you use nicotine and tobacco products, the darker and harder to remove the stains become. Consider avoiding nicotine and other tobacco products to prevent building up yellow stains on teeth. 

#4. Try At-Home Whitening

There are simple at-home whitening remedies you can try to improve the appearance of stains on teeth.

There are a variety of whitening products on the market, at all price points. Though, spending large amounts of money is not necessary to improve stains on teeth. 

One of the most common and inexpensive methods is to brush a few times per week with a mixture of water and baking soda.

This method is simple, yet effective. But, beware of overusing baking soda—studies suggest it can cause damage to the enamel of teeth.

If you are looking for products to purchase, consider starting small. Whitening toothpaste and mouthwashes can go a long way in improving the look of teeth stains.

In particular, those containing hydrogen peroxide or sodium hypochlorite can be particularly effective.

From there, you may consider whitening strips or other at-home systems. Look out for those containing carbamide peroxide, which is proven to be effective in these gel forms.

#5. Stay on Top of Dental Work

It’s important to stay on top of dental work to prevent the look of faux dental pieces from declining.

Dental fillings, crowns, and bridges will start to lose their color as they wear down over the years. Plus, metal fillings can sometimes transfer their color onto the tooth itself with time.

It’s critical that you stay on top of dental maintenance to prevent this from happening. While replacing these items can be uncomfortable, it can go a long way in preventing stains on teeth.

#6. Talk to Your Dentist

Finally, one of the best things you can do to combat stains on teeth is to visit your dentist. They have access to tools and other resources not available to the general public.

They can scrape, blast, and clean away stains. They also may be able to bleach or use other topical solutions to reduce the appearance of stains. In addition to regular cleanings and maintenance, ask them about other whitening solutions.

With their skills and experience, your dentist can best advise you on your options for teeth whitening and stain removal. There may be at-home or in-office procedures they can recommend that you would otherwise not find at a drugstore.

On your next dental visit, ask about removing stains on teeth—they are the experts, after all.

Consult the Experts for Removing Stains on Teeth

After trying at-home tips to remove stains on teeth, you may be at a loss. There comes a point when turning to the experts is necessary.

In the Webster Groves, MO area—Webster Family Dental is your solution.

The team at Webster Family Dental cares about your family. We assess and prioritize each patient’s specific dental needs with only the highest level of care and technology.

This way, patients leave our office feeling confident and excited about their smiles. Contact us today for more information on removing stains on teeth, or to request an appointment.
Webster Blog Feature Image

Sure, you brush your teeth every day, but what about the other half of your dental regime? Flossing is an essential part of dental care; however, a recent study has shown that only 30% of people floss daily, and 32% do not floss at all. We want to change those numbers with this simple guide! 

We will show you how to floss your teeth and answer some other questions along the way. Let’s get started!

Why You Should Floss 

First things first, let’s get into why flossing needs to be apart of your daily routine. Flossing helps to remove food particles that are stuck between your teeth that your toothbrush cannot get. If your teeth do not get flossed, then the food can accumulate bacteria, leading to plaque. 

Plaque can become problematic as it builds up in your mouth. It can cause issues from cavities to tooth decay and more. Flossing also helps reduce Gingivitis’s chances, which is a disease of the gums that can cause complications down the line. 

When You Should Floss

As we said, flossing helps to loosen the food debris between your teeth, so considering that you are eating each day you will want to make sure you are flossing as well! It is recommended that you brush your teeth at least twice a day and floss at least once. It is better to floss first and then follow up by brushing your teeth. 

If you are only going to floss once per day, consider making it a part of your nightly routine after eating your last meal of the day. 

Types of Floss

Not all floss is created equally! There are a wide variety of brands and types of floss available on the market.

The first type of floss is called Dental Tape. This type of floss is flat and ribbon-like in appearance. This floss’s broad design makes it easy to use and ideal for people with larger spaces between their teeth and those with braces.

Standard Floss is the more common type of floss on the market. It is made from nylon and is much thinner than Dental Tape. This type of floss has various options such as flavored floss and waxed and unwaxed options.

Waxed Floss is a better choice for anyone with tight or crowded teeth. Standard Floss is not always the best choice for anyone with braces though. 

Finally, Super Floss is a type of floss that is heavy-duty. It is ideal for people with dental work such as fixed bridges or braces because its design has three components. There is a stiffened end, a sponge-like section, and then regular floss. This type of floss can clean the gums and braces with ease.

Other Flossing Equipment 

Toothpicks with a flossing attachment are another option for flossing. They are equipped with a toothpick on one end and then a small line of floss secured by two plastic pieces at the other end. They are ideal for reaching teeth far back in the mouth, and they are convenient for on-the-go flossing after a meal. 

Water flossing tools are another option for a deeper clean. This type of flosser uses pressurized water to eliminate plaque and food debris from the teeth and gum line.  

How to Floss Your Teeth

So you know the tools that you will need, and when you need to do it, now let’s talk about how to do it! Here are the steps:

  1. Spool off around 18 inches of the dental floss of your liking.
  2. Wrap the floss around your middle fingers until only around 2 inches is left between them.
  3. While firmly holding the floss with your index finger and thumb, start to gently move the floss in a C-Shape up and around each tooth avoiding flossing the gum in a back and forth motion.
  4. Repeat the process on all of your teeth, using a clean section of floss each time.

When you reach your gum line, you should be gently working the floss between the delicate area between your tooth and gum. Avoid using any sawing motions as you could damage your gums. Once you have finished flossing, either brush your teeth or use an antibacterial mouthwash. 

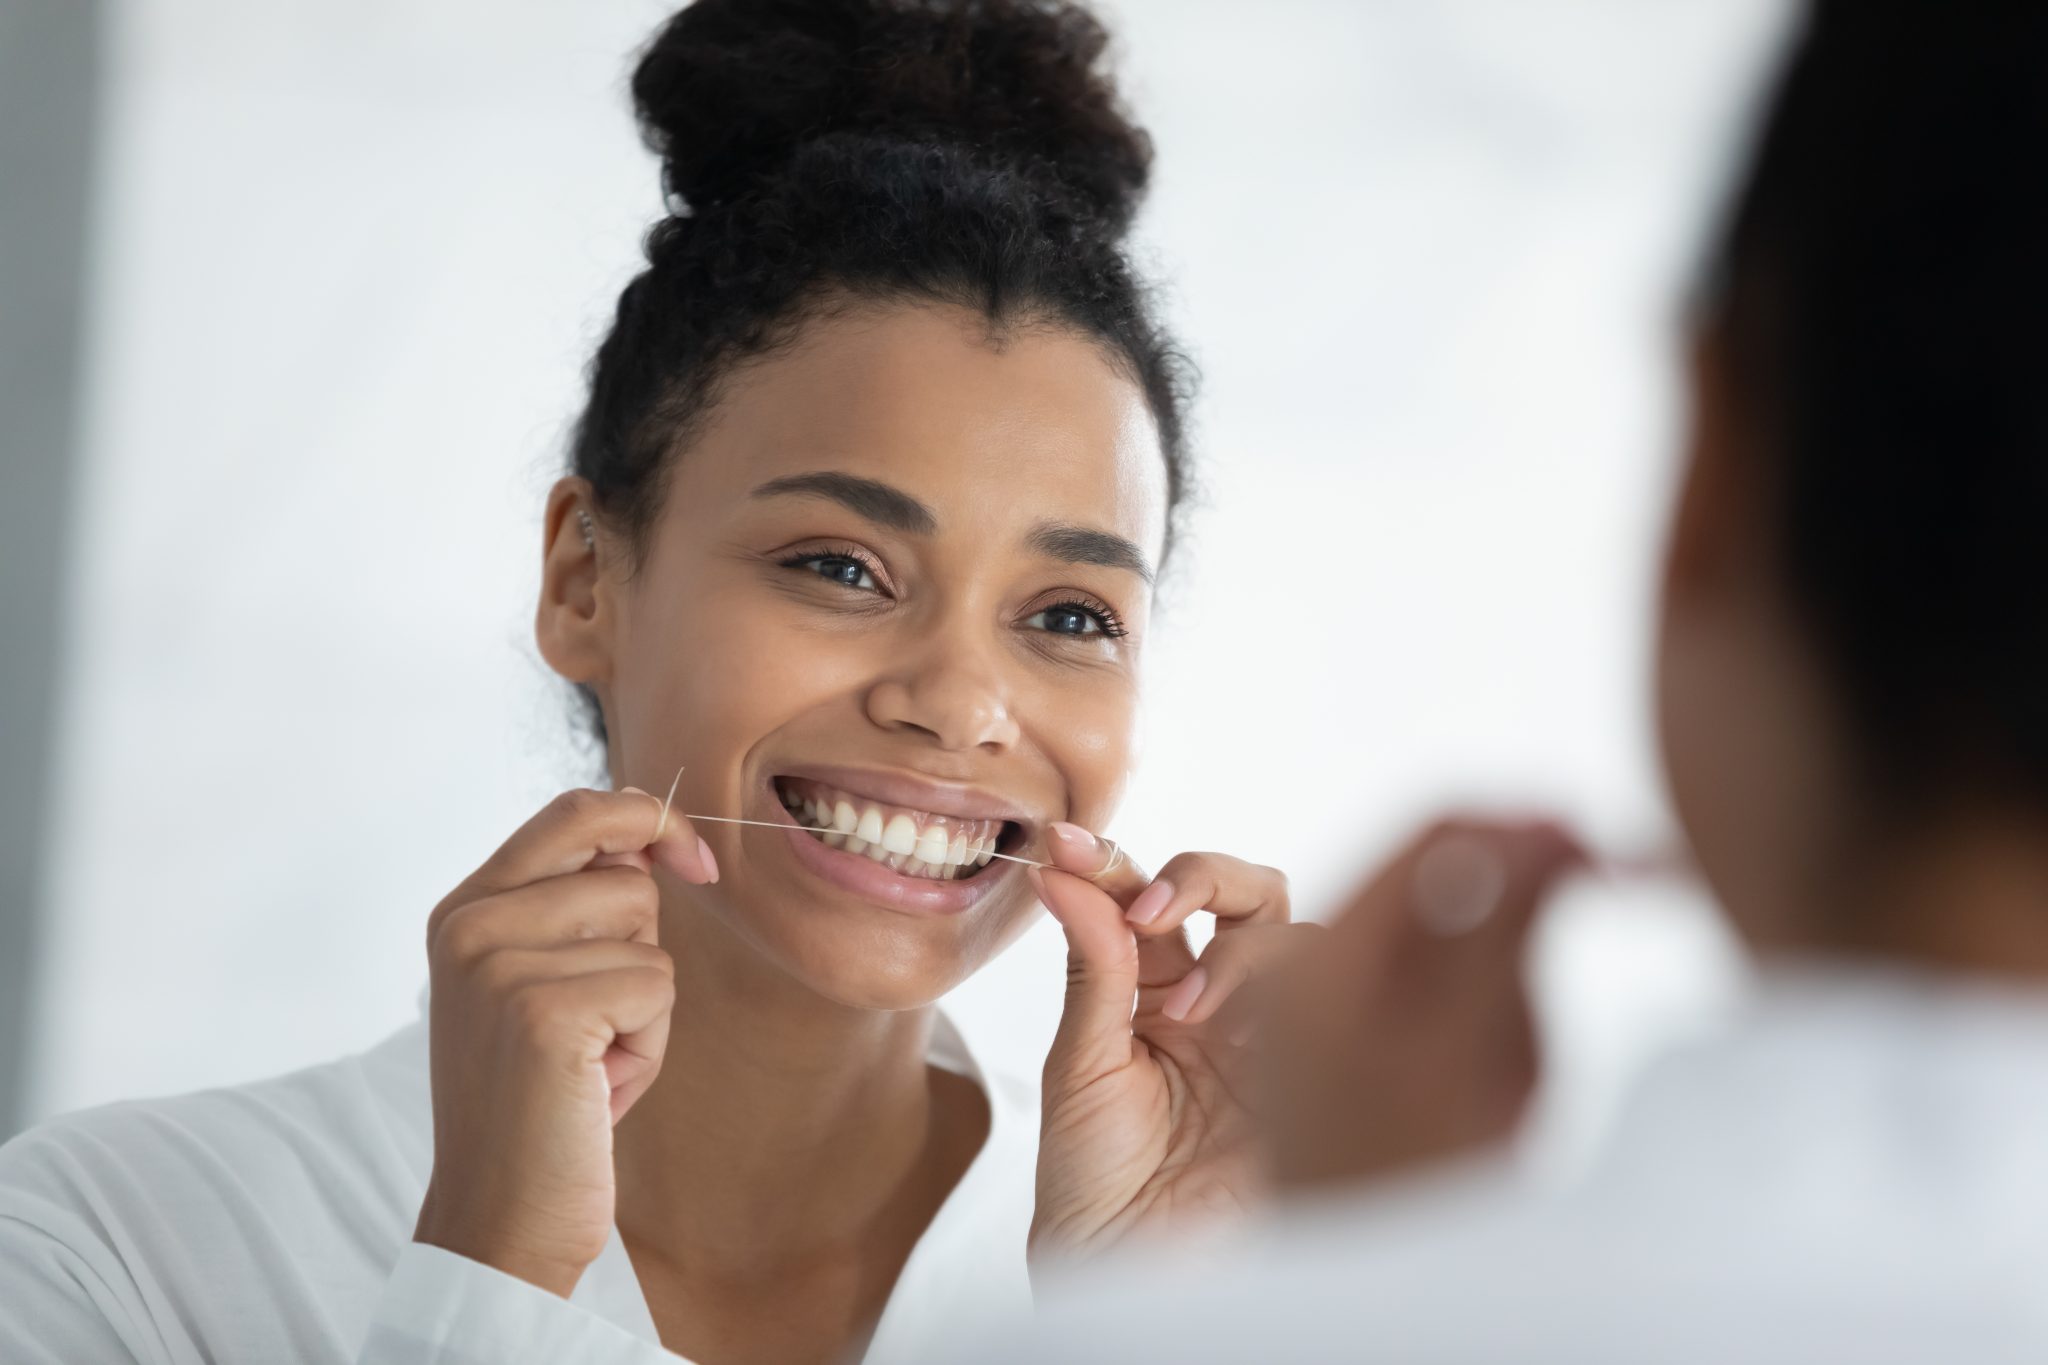
Always make sure to floss your teeth in front of a mirror. This will help you better visualize the area you are flossing, which could help prevent any injury to your teeth or gums.

Pro-tip

When it comes to buying floss, you should do your best not to skimp on the floss’ quality. Cheaper flosses are made with lower quality materials, and they could easily fray. When the floss frays, it can get stuck in between your teeth and cause injury to your gum, so save yourself the trouble and buy a reputable brand.

When to Visit a Dentist

If you are new to flossing, you will most likely see a little blood when you first start getting into a new routine. This can be due to any number of things, from vitamin deficiency to Anemia; however, more often than not, it is due to the fact that you have a mild build-up of plaque or mild Gingivitis.

Aggressive or incorrect flossing can also cause bleeding, so make sure you follow this guide! The more you floss, the healthier your mouth will become, and the bleeding should stop. With that being said, if you have excessive or prolonged bleeding, it could be a sign of a more serious health issue like Periodontal Disease, which would require immediate attention from your dentist

Keeping Your Mouth Healthy

Now that you know how to floss your teeth, you can be on your way to a happier and healthier smile! This simple guide will help you find the right floss and utilize the right technique with ease. 

Good overall health starts in your mouth! Our team is here to help you achieve optimum dental health, from helping you get back your pearly smile to managing routine check-ups. Visit us today to get your next appointment on the books!

Tooth brushing

You brush your teeth twice a day with fluoride toothpaste as your dentist recommended. So you’re doing everything right, right?

Not necessarily. It’s not just the frequency of how often you brush your teeth or the brand of toothpaste you’re using between professional teeth cleanings. If you’re not brushing your teeth properly, it can be all for naught. 

Many people aren’t brushing properly, but that can be corrected with some adjustments. Here are 9 common tooth brushing mistakes to be aware of the next time you’re tending to your teeth…

1. Choosing The Wrong Bristles

If you’re trying to get plaque buildup off your teeth, you need a hard brush to scrape it, right? That’s not actually the case. 

Just because the bristles are harder, it doesn’t mean they do a better job of cleaning. In fact, the harder bristles can actually cause some damage to the structure of the tooth and hurt the gums. 

Softer bristles can bend, allowing the bristles to get under the gumline where bacteria can hide. 

2. Letting Your Brush Wear Out

You find a great toothbrush that you love. It has a comfortable handle, and you like the color of it. 

However, at some point, you will have to part with your existing brush. You will see signs of wear on the brush as the bristles start to fray, which reduces the effectiveness of the tooth brushing. 

The official recommendation is to change up your manual (and electric) brush every three months. That’s more often than the six-month visit between dentist exams

3. Not Brushing Long Enough

When you’re brushing, you might think you’re done when you’ve reached all the corners of your mouth – which is often under a minute. But that’s not actually long enough according to experts. 

The guideline is to brush for a full two minutes each time you visit the bathroom to brush your teeth. 

For kids especially, brushing for a full two minutes can be a challenge. Aside from using a timer, there are some fun songs you can play for them to help them go the distance. 

4. Brushing Too Vigorously

This harkens back to using bristles too hard: people thing “harder” will get their teeth cleaner. However, by putting too much pressure on your teeth when brushing, you might actually cause damage to the gums.

The reality is that the plaque you’re trying to remove is soft, so you can remove it by brushing gently. It’s only hard when it becomes tartar (from lack of plaque removal), which can be taken care of during a dental visit

5. Improper Brushing Patterns

There’s an old song for kids that teaches them to brush teeth “round and round.” However, while that might’ve been the advice of the day, it’s not necessarily the accepted best practice anymore. 

The “new” standard is to brush your teeth back and forth across the length of a tooth, hitting all of the surfaces. You should also be placing the brush on the teeth on a 45-degree angle near the gum line. 

When cleaning the backs of your front teeth, turn the brush vertically and massage them with the brush in gentle up-and-down strokes. 

6. Using The Wrong Toothpaste

There are many types of toothpaste out there, from those meant for sensitive teeth to those that promise to remove stains. 

Whitening kinds of toothpaste seem to be fine (professional whitening might be more effective). Those with baking soda might actually be doing harm as they’re abrasive and can damage the enamel of the tooth. 

When searching for the right toothpaste for you, pay attention to the label. It should indicate that there are a thousand (or more) parts per million of fluoride, and there should be a seal of approval from the American Dental Association on it somewhere. 

7. Not Cleaning Your Entire Mouth

When it comes to tooth brushing, you’re probably just focusing on your teeth. And rightly so. However, you shouldn’t neglect your entire oral health picture when cleaning. 

One major component of the mouth that is often overlooked is the tongue. While you can use a tongue scraper to clean it, using your toothbrush also works

The key is to have a soft-bristle brush and allow the easiest access by sticking out your tongue. Starting from the back of the tongue using gentle strokes, rinsing the excess off the brush as you go. 

Cleaning your tongue with a scraper or brush may be a way to reduce bad breath. 

While you’re at it, you can also clean your mouth’s palette and the inside of the cheeks to get rid of any debris. Cleaning your tongue and cheeks at least once a day will help you achieve a higher overall feeling of cleanliness. 

8. Brushing Right After a Meal

You might think it’s a good idea to brush away the excess right after you’ve consumed a meal, but it’s actually a mistake. 

The reason is that you will have acid in your mouth after eating, and the abrasives from brushing can add to the erosion of the teeth. You should wait at least 60 minutes to allow time for your saliva to neutralize the acid. 

In the meantime, you can chew sugarless gum or just drink some water while you wait to head to the bathroom for a brushing session. 

9. Forgetting The Final Touches

Brushing your teeth is a big part of the equation. But there’s more to it than that to maintain optimal oral health. 

First of all, you should be using floss to get at food particles that can’t be reached with a brush. The bacteria left behind could contribute to tooth decay. 

When you’ve finished that step, use a proper mouthwash that kills germs and doesn’t contain alcohol. This will get rid of any leftover bacteria churned up from brushing and flossing. 

If you don’t have mouthwash, then swish with water. 

Brush Up On Tooth Brushing 

Brushing your teeth twice a day – properly – is a key to good oral health. Follow these tooth brushing tips for the most effective cleaning. 

Combined with regular visits to the dentist, you can help prevent cavities and catch oral health issues early!

To find out more or to schedule a dental appointment, contact us today.  

Blog Post Hero Image

Do you ever look at lists of dentist-approved foods and wonder how anyone sticks to that kind of diet? Most of us think eating tooth-friendly foods means sticking to carrot sticks and broccoli but the truth is, food can be just as delicious as it is healthy.

Finding soft food recipes that are safe for your family’s teeth can be tricky. Read on to discover some great options that your family and your dentist will both love to have around. 

1. Cucumber Bites 

Whether you’re fixing an appetizer for a party or a snack for the kids after school, cucumber bites are a great way to go. Peel and slice your cucumbers into rounds and then mix together a block of cream cheese, a small container of plain Greek yogurt, powdered ranch dressing mix, and some dill. Dollop some of the cream cheese mix on the cucumber slices and top each with a quarter of a cherry tomato.

2. Smoked Salmon Rolls

Smoked salmon rolls are another excellent tooth-friendly use of cucumbers. Mix together smoked salmon, cream cheese, mustard, garlic powder, and dill and then use a veggie peeler to slice off thin strips of cucumber. Spread your salmon mixture on each cucumber slice and roll them up for a simple, delicious snack.

3. Caprese Pops

Caprese pops are an adorable party food and a fun snack for you and the family. Cut a cherry tomato in half, scoop out the seeds and inside, and slide it cut-side up onto a wooden skewer. Slide a mozzarella pearl onto the skewer and top the whole thing with a drizzle of olive oil and a sprinkle of salt, pepper, and basil.

4. Parmesan Crisps

Parmesan crisps are perfect for those days when you want chips that won’t endanger your teeth or your health. Sprinkle shredded parmesan in a pile on a parchment paper-lined baking sheet and top it with pepper and some dried herbs. Bake them for about five minutes until the cheese melts together and turns golden and bubbly.

5. Curry Popcorn

Popcorn is a great tooth-friendly snack since it’s not sticky or loaded down with sugar. But adding some curry powder to it can help take your favorite snack to the next level. Make sure you use some unsalted butter to help the curry powder stick to the popcorn. 

6. Low-Fat Cheeseburger

You might be surprised to learn that cheeseburgers can be a great option for keeping healthy teeth. Use multi-grain rolls and low-fat cheese to keep your burgers on the healthy side. Top them with lettuce, tomato, cucumber, and red onion for some extra-delicious crunch.

7. Homemade Chicken Noodle Soup

Homemade chicken noodle soup is good for the soul and the teeth. Use lots of fresh veggies and some egg noodles to add texture to the dish. Everyone has their own favorite recipe, but if you don’t have yours yet, you can start with this one

8. That Good Salad

You won’t be surprised to learn that salad is one of the best options for both your health and your teeth. But salads don’t have to be boring and tasteless. Make a dressing with canola oil, lemon juice, garlic, salt, and pepper, and add tomatoes, Swiss cheese, almonds, Parmesan, bacon, and croutons to your greens mix.

9. Veggie and Beef Kebabs

Kebabs are a delicious option for nights when you want to grill out in the back yard. Chop up some zucchini, mushrooms, squash, onion, and sirloin steak and slide them onto skewers. Season them with chili powder and cumin and grill them for a fun tooth-friendly dinner. 

10. Lasagna

Lasagna has a lot of cheese in it, which contains the protein your kids’ teeth need to grow strong. It’s better to make lasagna at home than to eat one of the frozen store-bought ones. A no-boil lasagna recipe can make this dish a quick and delicious weeknight dinner option.

11. Chocolates

You might be surprised to learn that chocolate is actually one of the best dessert options for healthy teeth. Remember to stay away from caramels and toffees since they can stick to your teeth and pull on fillings and prosthetics. And the darker the chocolate, the better it is for you and your teeth. 

12. Angel Food Cake

Angel food cake is a lovely option for when you want a dessert that’s a little more involved. Its light, fluffy texture and lack of icing make it a great option for satisfying your sweet tooth in a healthy way. Top it with some sliced strawberries to add a pop of fresh flavor and texture.

13. Chocolate Strawberries

On the subject of strawberries, chocolate strawberries can be another delicious option. Go for dark chocolate and try to get fresh strawberries to make them at home yourself. You can also go for other chocolate-dipped fruit; bananas and pineapples are a delicious option.

14. Fruit Ice Cream

If you’re craving ice cream, why not go for the fresher option and make some fruit ice cream? Blend up your favorite fruit with a dollop of honey and spread it in a bread pan. Freeze it, and a few hours later, you’ll have a delicious sorbet that’s great for your teeth. 

15. Chocolate Peanut Butter Fudge

Chocolate peanut butter fudge can be a great tooth-friendly dessert option. Mix blended dates, cocoa butter, cocoa, honey, vanilla extract, and unsweetened peanut butter in a saucepan and let the mixture thicken. Pour it into a glass baking dish and let it cool until you’re ready to enjoy a piece.

Discover More Soft Food Recipes

Eating well and keeping healthy teeth at the same time can seem impossible. But with the right soft food recipes, you can keep your family’s teeth growing strong. Look for things made fresh, and try to avoid sticky or sugary foods.

If you’d like to take the next step to keep your teeth healthy, check out the rest of our site at Webster Family Dental. We are Webster Grove’s number one choice for family dentistry. Book an appointment and start smiling a little brighter today!